|
I began by planning out the coop on paper. Julee said she'd never want more than 4 chickens. We figured for 4 chickens we needed the following:
- 1 roosting box per 4 chickens. I figured 6 would be serious overkill, so I designed it with that many.
- Easy to clean. This is a complicated requirement. Figured it needed:
- Linoleum base in the nesting area.
- Doors on both sides to allow the mess to be pushed all the way through.
- Removable nesting box liners.
- Removable roosting box liners.
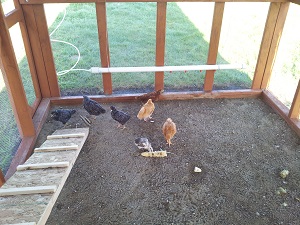
- Sand in the run for their digestive tracts and easy cleaning.
- Some storage.
- Two full size doors for entry/exit.
- A water supply.
- A place for food that was easily accessible.
- Perches.
We looked on Pinterest and Google at all sorts of coops. We saw some ugly ones
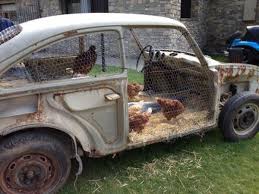
and some really nice ones.
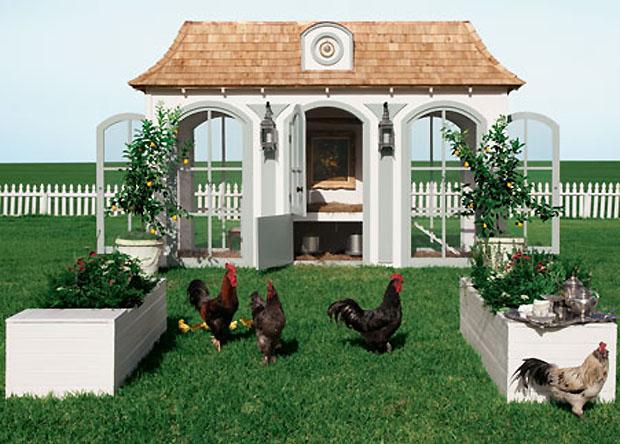
After decades of searching, I decided on oversized and simple.
We bought this house in September, so the rain made it impossible to build the coop outside. I took the plans and began to assemble the coop in the garage.
To make it easier to move around the yard, I made it in sections that could be easily unscrewed and moved to a new location. Unfortunately I didn't
photograph the individual sections. Hindsight is 20-20. :s
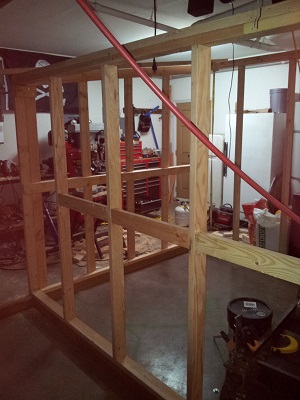
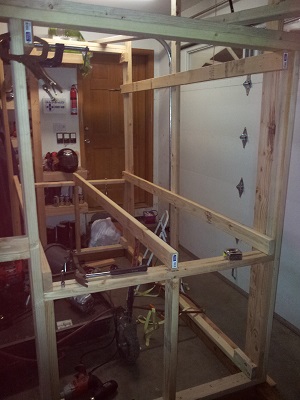
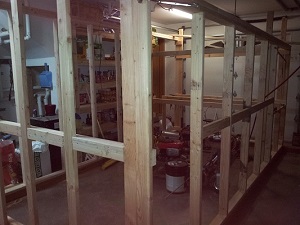
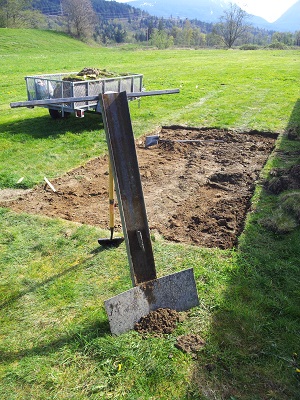
Once we received a sunny day, sometime around August of the following year, we figured out where we wanted the coop to go. I didn't want it level with
the ground, that would allow pests to easily dig under. So I decided to tear off the sod.
One might think to themself "Self: this should be easy." Reality tends to kick our ass though. So after an hour or so trying to dig up the sod, I
welded together a sod cutter, hooked it to the back of the Suburban, and shaved it all off. Takes a lot of counterweight on the handle to keep the
cutter from flipping over, but luckily I weigh the same as a bus.
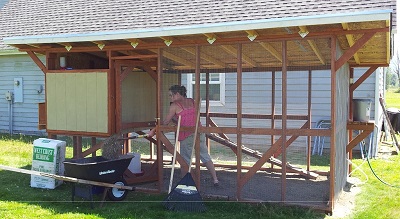
The next step was to take the frame out of the garage in its pieces and assemble them on their new spot.
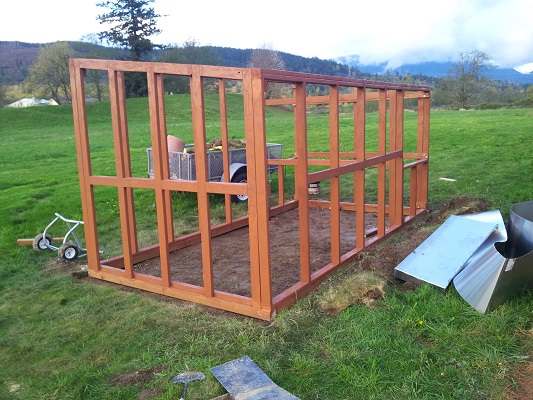
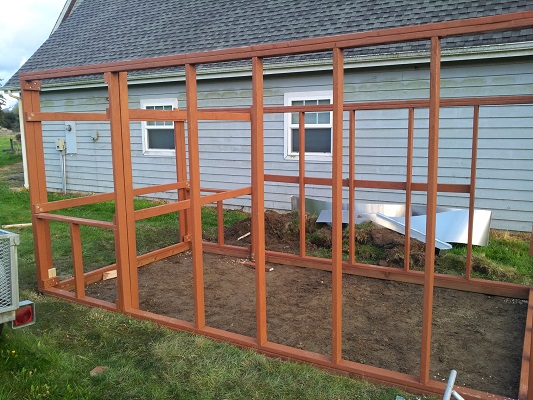
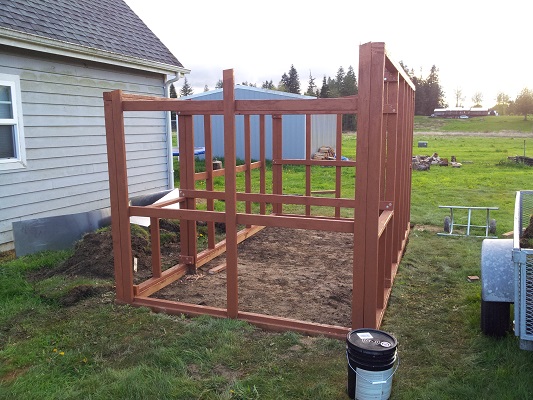
Then I could start putting the top on. I used 2x4s for the sake of cost, we don't get much snow here, it's worked out just fine.
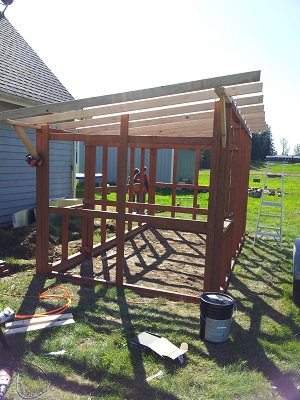
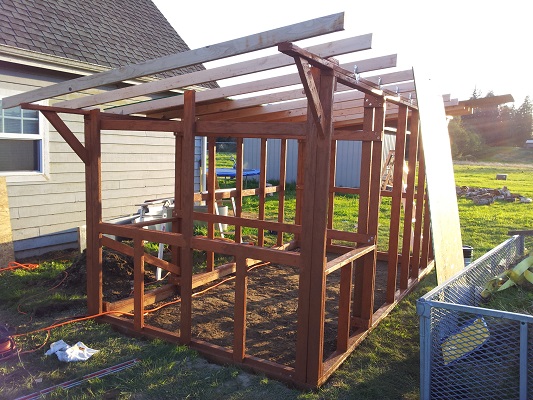
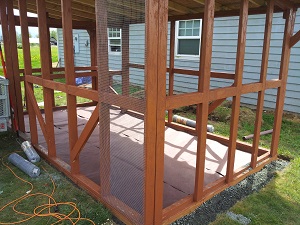
To protect the chickens from predators, I used 1/4" welded wire mesh around all of the open studs. The original plan was to staple them down temporarily then
put trim around every rectangle, paint that a lighter color. BUT, as with everything that is a nice-to-have, that never got done. :s Maybe someday when
I'm rich and famous. It's been up 3 years and no predators have ever gotten through when the doors were closed.
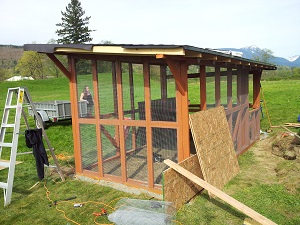
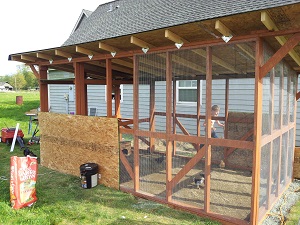
There are no pictures for it, but the ceiling of the coop used asphalt shingles that match the house.
This is when I got lazy with photographing.
Time slipped by with the constant rain, and I slowly but surely had some nice weather breaks when I could enclose the nesting area. I put in 2 perches. It took
a while for the chickens to try them out, but once they did it was always a fight for who got to use them.
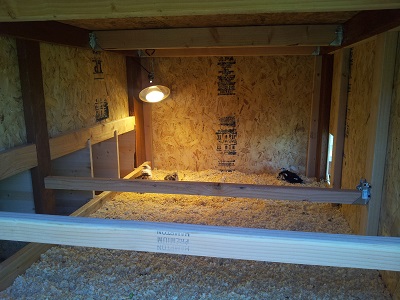
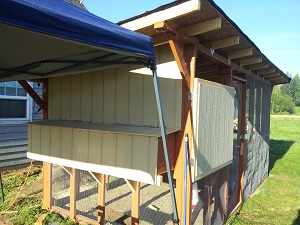
We filled the chicken run with sand and filled in the gaps around the house. I also added a watering solution which I'll describe below.
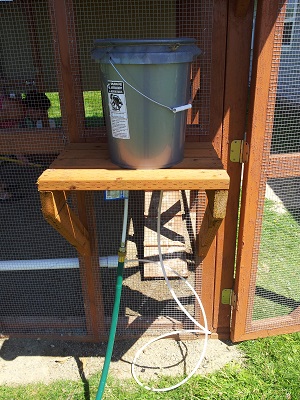
Last but not least I quickly became sick and tired of filling the chicken water on a daily basis. The solution? Rig something up to the hose.
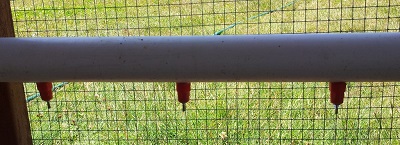
I bought the following items and build a fully automatic watering system. Email me for a complete list of parts and part numbers.
- 5 gallon bucket
- Toilet fill valve
- PVC
- Chicken watering nipples
- Hose
- Water line heater
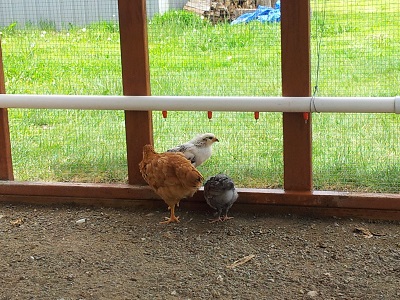
And the rest is history!
We now have 21 hens and 2 roosters. They are happy as clams in this area. They get let out to free range daily and keep the yard pretty clear
of bugs.
We have lost a few to coyotes, 14 to a bobcat, one or two to mysterious unseen predators. We replaced them all, and I have the furs of those predators
I was able to kill hanging in the garage.
Wish I would have gotten that bobcat, but he ran off and died in the woods. Long story there. Ask about the
newborn baby deer I found while looking to finish him off. :)
<-- Back to projects
|